- Details
- Category: Hunting
- Published: Wednesday, 10 June 2015 13:29
- Written by Greg
Skull Bleaching...total cost $47
Over the years I’ve paid quite a bit of money to have deer, antelope and bear skulls bleached and have been quite happy with the results. However, I’ve often wondered just what it would entail to bleach skulls myself, especially since we had several coyote and fox skulls sitting in the freezer, so I decided to give it a try myself. Unfortunately I never thought to take pictures along the way to document the steps and progression because I guess I never thought I’d have anything to show at the end of my experiment. Luckily the skull bleaching project turned out to be a success!
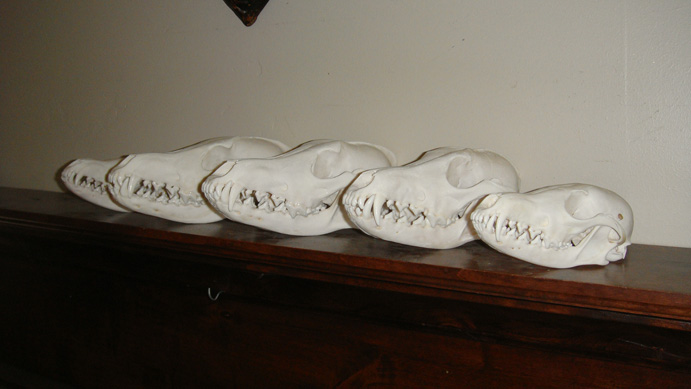
After doing a little research ("little" being the operative word) online, I came to the conclusion that I didn’t need to spend a lot of money or buy any fancy materials to do the job myself. But what I came to realize later was that there are a couple of key ingredients that greatly simplify the job and which make the final product look professionally done.
Note: I spent/wasted 6 hours one day boiling a couple of skulls in plain water. While it knocked off and loosened some of the meat, it certainly did not complete the job and I still wasn’t able to pick off the meat sufficiently. And all the boiling split some teeth and slightly fractured two skulls. Lesson learned.
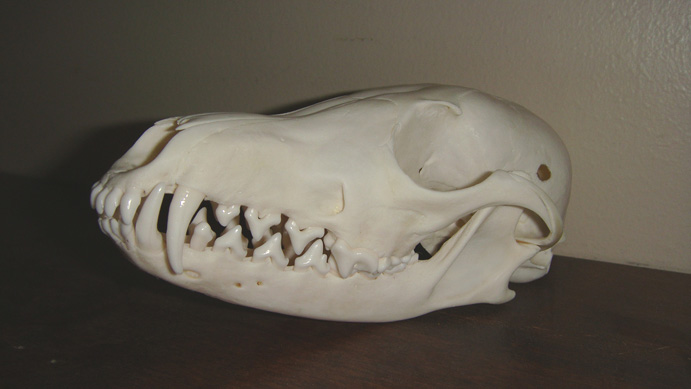
After the lack of success from the 6 hour boiling step, I did more research online until I found what I consider to be the miracle ingredient, sodium carbonate (also known as soda ash). It not only breaks down meat protein, but also degreases bone during the boiling process.
Steps:
1. Trim majority of meat off skull and clean out brain cavity
2. Place skulls (2 or 3 at a time worked for me) into 16 qt stainless steel pot
3. Fill with water until skulls are covered
4. Pour approx. ½ cup of soda ash into pot of water (I actually didn’t measure, but will next time)
5. Boil for 25 – 30 minutes max.
Note: I mostly covered the pot with lid, but be extremely careful since mixture causes contents to boil over easily, so keep close watch the entire time
6. Remove skulls and use stiff bristled brush to remove any remaining meat. Sometimes a small flat blade screw driver, hook pick tool or pliers can be used to scrape off remaining loose meat
Note: when draining pot, keep an eye out for teeth which may have fallen out
7. After allowing skulls to dry, soak all 5 skulls in peroxide for 8 hours (leveraged my local taxidermist to use their 40% hydrogen peroxide for $20)
Note: when draining peroxide, keep an eye out for teeth which may have fallen out
8. Glue loose teeth back into place (I used brush-on adhesive resin)
Items used:
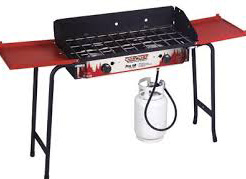
- Propane stove (used my Camp Chef stove)
- 16 Qt stainless steel pot with lid ($20 at Kmart)
- Soda ash ($7 per lb online, including shipping)
- Stiff bristle nylon brush, small flat blade screw driver, hook and pick tool, needle nose pliers, tongs, knife, pan (I used plastic oil pan to hold skulls after removing from boiling pot)
- 40% industrial strength hydrogen peroxide ($20)
- Adhesive brush-on resin (already had Backscrathers Stikr brush-on resin)
- Total cost $47 (not including the little bit of propane used or my labor, haha)
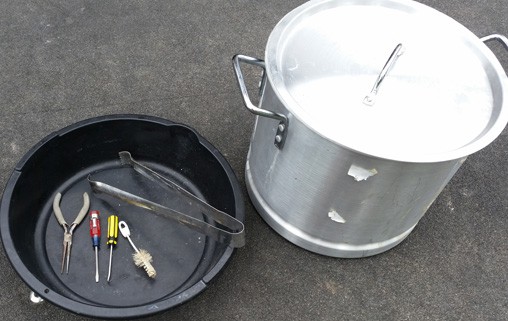
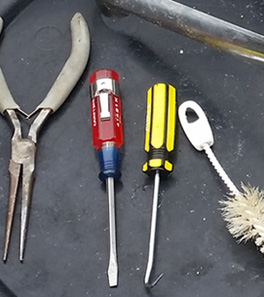

Close-up of tools used Same as my propane stove Brush-on resin


